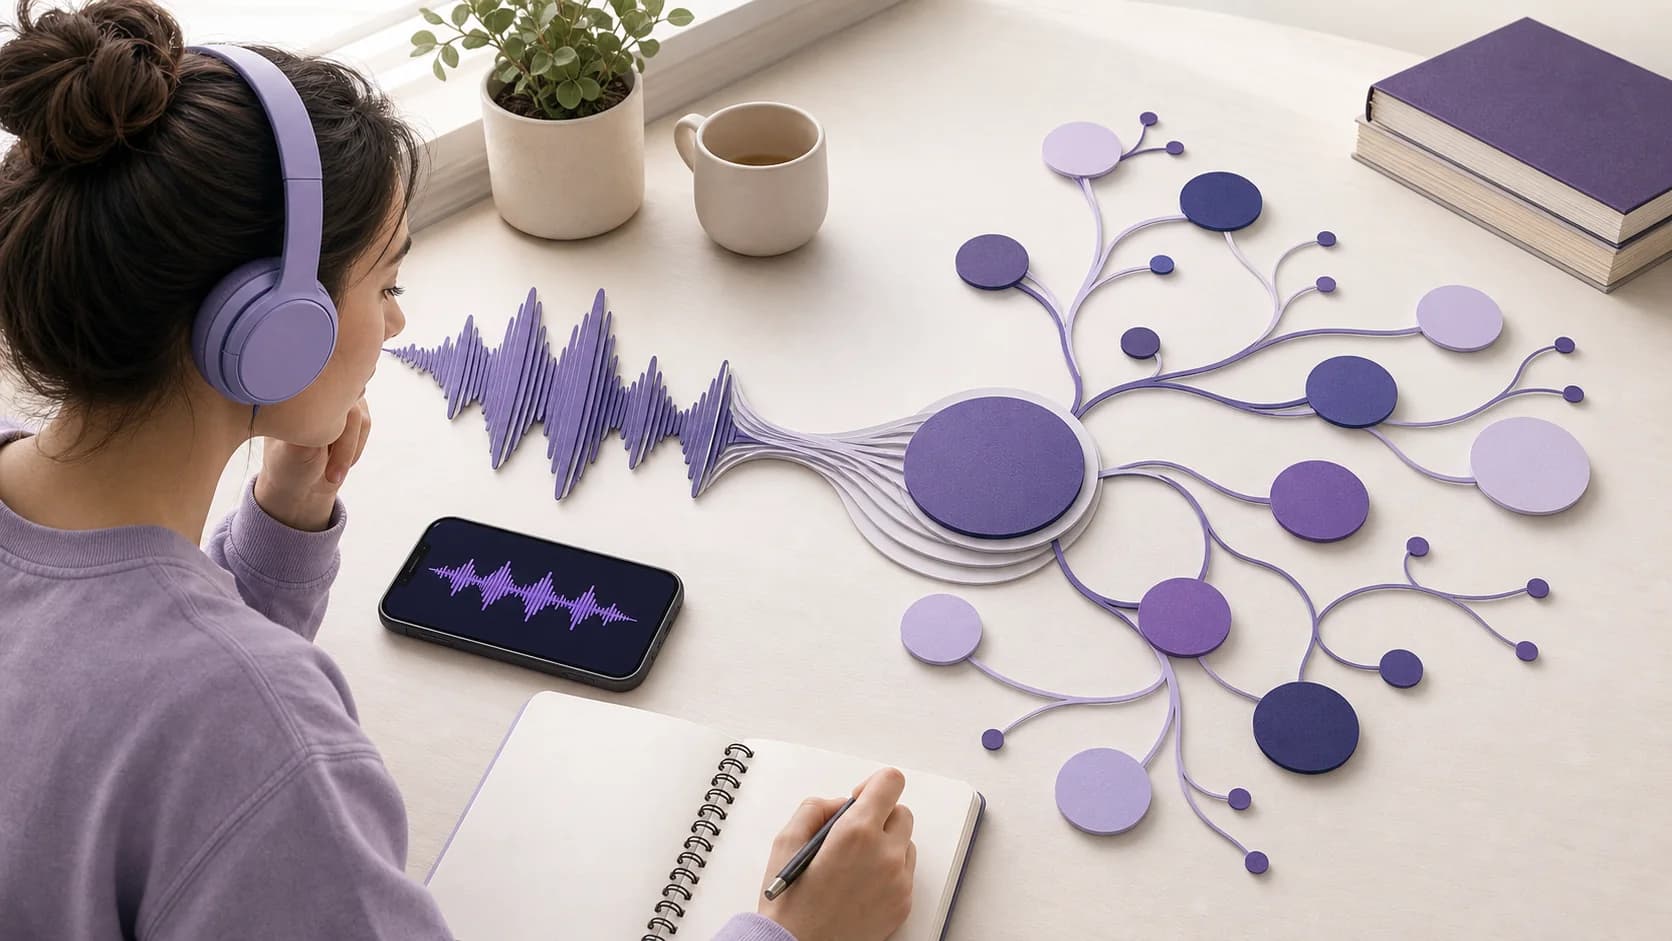
To turn audio into a mind map, first convert the recording into a transcript and structured note. Correct important names, terms, numbers, and missing visual context, then choose one central topic and arrange the main ideas as branches. Add short relationship labels where the connection matters. Finally, compare the map with the recording or a trusted course source before using it for revision.
The conversion should not be a one-click shortcut from a long recording to an unquestioned diagram. A useful audio-to-mind-map workflow keeps the source available, makes the structure editable, and ends with a map you can explain without looking.
Quick answer: Use a permitted recording with clear speech, create and check the transcript, narrow the map to one learning goal, build three to seven main branches, verify every important relationship, then hide the map and reconstruct part of it from memory.
What does audio to mind map conversion involve?
Audio is linear. A lecture, podcast, interview, or voice note reaches you one moment at a time. A mind map is spatial. It puts one topic at the center and shows how categories, processes, examples, and exceptions relate around it.
Moving between those formats usually requires four stages:
- Transcribe: turn the spoken content into searchable text.
- Structure: separate topics, explanations, examples, and transitions.
- Map: choose a center, main branches, and supporting details.
- Verify: compare the result with the recording and any course material.
Each stage solves a different problem. A transcript helps you find what was said. A structured note helps you understand the order and emphasis. A mind map helps you see hierarchy and relationships. Keeping those stages distinct makes errors easier to find.
When is a mind map a good fit for audio?
An audio mind map works best when the recording contains a topic with visible internal structure. Good candidates include:
- a lecture organized around several themes
- a tutor explanation that compares related concepts
- a recorded revision session covering one syllabus outcome
- a podcast episode with a clear central question
- a voice note that develops an argument or project idea
- an interview you are permitted to analyze by theme
Choose another format when sequence or exact wording matters more than hierarchy. A timeline may suit a history recording full of dates. A step-by-step checklist may be better for a laboratory procedure. A transcript is essential when you need quotations. A table may handle a dense comparison more clearly than branches.
The map does not need to represent every minute. Its job is to reveal the structure you need for a specific learning task.
How to turn audio into a useful mind map
1. Start with a recording you can use
Use your own voice note, a permitted lecture recording, an openly available audio source, or another file you are authorized to process. Follow the rules of your institution, course, workplace, and location before recording other people.
For a live lecture, ask about recording before class. If recording is not permitted, you can still build a map from your own typed notes or from course material you are allowed to use.
If you are capturing the audio yourself, improve the input before thinking about the map:
- place the microphone near the main speaker
- avoid fans, keyboards, and overlapping conversations
- test the volume for a few seconds
- use a descriptive file name with course, topic, and date
- mark important or confusing moments if your recorder allows it
The guide to recording lectures and turning them into notes covers the capture stage in more detail.
2. Create a transcript before mapping
Do not try to map a long recording by repeatedly dragging through the audio timeline. Create a transcript so you can search terminology, find topic changes, and compare the generated structure with the speaker's words.
Treat automatic transcription as a draft. The W3C's guidance on automatic captions says generated captions need editing for accuracy. Its accessibility context is different from private study notes, but the reliability lesson still applies: speech recognition provides a useful starting point, not a guaranteed record.
Review the transcript for details that are easy to distort:
- proper nouns and specialist vocabulary
- numbers, dates, units, and formulas
- words that change meaning when misheard
- examples that depend on a diagram or slide
- questions or corrections from other speakers
Replay only the uncertain sections instead of listening to the whole file again.
3. Turn the transcript into a structured note
A raw transcript preserves sequence but often hides the hierarchy. Create a shorter note with descriptive headings. Separate:
- the central question or topic
- major explanations
- definitions
- stages in a process
- examples and evidence
- exceptions, limitations, or criticisms
Keep the transcript or recording connected to this note. If a heading seems too confident or a detail looks unfamiliar, you need a quick route back to the source.
At this stage, do not force the material into a visual shape. First make sure the written structure represents the recording fairly.
4. Define one purpose for the map
Write one sentence that describes what the map should help you do. For example:
- explain how the immune response is organized
- compare three theories from a psychology lecture
- show the causes and consequences of one historical event
- plan an answer to one recorded seminar question
Avoid a center such as Week 6 lecture. It describes the file, not the knowledge. Use a concept or question that you could recognize without the recording.
If the audio covers several unrelated topics, make separate maps. One focused map is easier to check, scan, and recall than a crowded diagram that mirrors the full recording.
5. Choose the main branches
Use the headings from the checked note to identify three to seven major branches. The right branches depend on the material.
| Material in the audio | Possible branch pattern |
|---|---|
| Scientific system | components, stages, regulation, outcomes |
| Historical explanation | context, causes, events, effects, interpretations |
| Theory comparison | assumptions, mechanisms, evidence, limitations |
| Process lecture | inputs, stages, decisions, outputs, exceptions |
| Recorded discussion | main positions, supporting reasons, disagreements, open questions |
Keep branch labels short, but do not make them vague. Regulation is more useful than Other. Evidence against the theory is more useful than Problems.
6. Add details and relationship labels
Place definitions, examples, conditions, and exceptions beneath the relevant branch. Trim sentences into concise phrases, but preserve wording that changes the meaning.
When a connection is important, label it. Useful relationship terms include:
- causes
- depends on
- occurs before
- contrasts with
- is evidence for
- is limited by
- leads to
Cornell University's concept-mapping guidance emphasizes that linking terms make the relationship between ideas explicit. A simple mind map may not need a label on every branch, but adding one to causal, comparative, or conditional links helps prevent a tidy layout from hiding weak reasoning.
If the audio contains many cross-connections, use a concept map rather than a purely radial mind map. The format should serve the ideas.
7. Check the map against the source
Review one branch at a time. For each branch, ask:
- Did the speaker actually make this claim?
- Is the label more certain than the source?
- Did transcription change a key term, number, or condition?
- Is an example being presented as a general rule?
- Does a slide, diagram, or assigned reading add necessary context?
- Can I find the relevant place in the note or recording?
Correct the map before revising from it. A polished layout should not make an unchecked claim look trustworthy, which is exactly why verification belongs inside the workflow.
8. Use the map for retrieval
Looking at a finished map mainly practices recognition. To test whether you know the structure, hide it and make an attempt.
Try one of these:
- redraw the main branches from the center
- explain one branch aloud without reading
- cover the sub-branches and predict the missing details
- turn each major relationship into a question
- compare your reconstruction with the checked map
The separate guide to the mind map study method explains when to use a radial map, when to switch to a concept map, and how to turn branches into active-recall prompts.
Worked example: a lecture on the immune response
Imagine you have a 45-minute biology lecture covering innate and adaptive immunity.
The transcript contains definitions, examples of barriers, a discussion of antigen presentation, and a comparison of B cells and T cells. The lecturer also refers to a diagram that is not fully described aloud.
Your workflow could look like this:
- Check the transcript: correct terms such as
phagocyte,antigen-presenting cell, andcytotoxic T cell. - Add visual context: review the permitted lecture slide and add the missing direction of antigen presentation.
- Choose the center:
How the immune response is organized. - Build main branches:
Innate defenses,Antigen presentation,Humoral response,Cell-mediated response, andMemory. - Add relationships: label antigen presentation as an activation link rather than placing the concepts near each other without explanation.
- Add one limitation: note that the map simplifies a network of interacting processes.
- Test recall: hide the map and explain how antigen presentation connects innate detection to adaptive responses.
This map is intentionally narrower than the entire lecture. Detailed molecular pathways, clinical examples, and exceptions can remain in the note or move into their own maps.
Common audio-to-mind-map mistakes
Mapping the uncorrected transcript
If the source text is wrong, the visual structure may repeat and amplify the error. Check specialist terms and meaning-changing details first.
Using the recording title as the center
Podcast episode 18 or Monday lecture does not express a learning target. Name the concept, question, process, or argument instead.
Giving every sentence a node
A map is not a transcript arranged in circles. Keep the central structure and return to the note for full explanations.
Trusting the generated hierarchy
Automatic grouping can mistake an example for a main idea or flatten an important exception. Rearrange the branches until they match the course logic.
Ignoring missing visual information
Audio may refer to a slide, chart, equation, gesture, or demonstration. Add that context from a source you are allowed to use, or flag the gap instead of guessing.
Stopping after the map looks complete
A polished diagram does not show that you can retrieve or apply the material. Close it, reconstruct a branch, answer a question, and correct the gap.
Audio-to-mind-map checklist
Before conversion:
- Confirm you are permitted to record and process the audio.
- Choose one recording or one clearly bounded section.
- Identify the learning question the map should answer.
During conversion:
- Keep the recording and transcript available.
- Correct technical terms, numbers, and missing context.
- Build the map from a checked structured note.
- Use clear branches and label important relationships.
Before revision:
- Compare every important branch with the source.
- Split an overloaded map into smaller topics.
- Turn branches into recall questions.
- Reconstruct part of the map without looking.
Make the recording part of a study workflow
The best audio-to-mind-map process does not discard the recording after producing a diagram. It keeps the source, transcript, detailed note, and visual overview close enough that you can check a claim and correct your understanding.
BrainDen can turn a permitted recording into a transcript and structured note, then open the same material as a mind map alongside its other study tools. Review the result against the source and use the branches as prompts rather than treating them as final answers.
Turn a checked audio note into a mind map with BrainDen, then continue with the recommended option for Web, iPhone & iPad, or Android.
Turn your next source into a study system.
Create structured notes, flashcards, quizzes, mind maps, and active-recall practice from your own material.