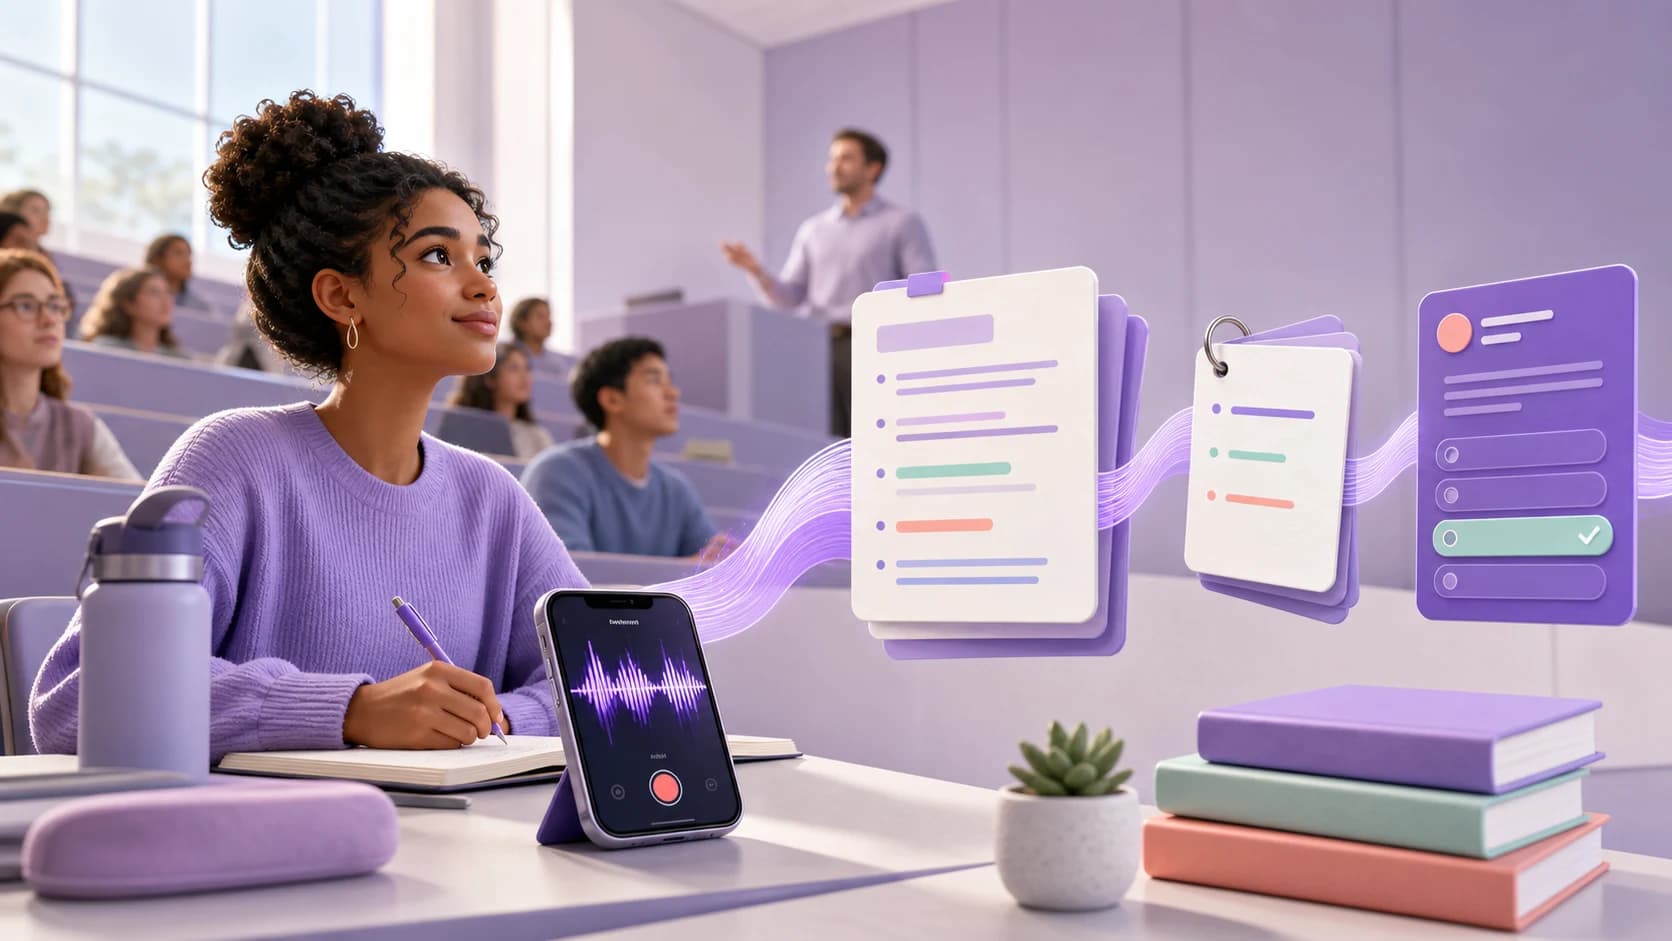
An AI lecture note taker can record lectures and turn the voice recording into structured study notes. The useful part is not the transcript alone. The real value comes from keeping the original lecture connected to notes you can edit, check, highlight, and turn into flashcards or quizzes.
This guide shows a practical workflow for moving from a live class to study-ready material without treating an automatic summary as perfect.
Quick answer: Get permission to record, place your device where speech is clear, mark important moments during the lecture, review the generated notes against the source, and then test yourself with flashcards, quizzes, or an explanation in your own words.
What does an AI lecture note taker do?
A lecture note taker captures spoken material and converts it into text. More capable tools go beyond voice-to-text by organizing that transcript into headings, definitions, examples, and key points.
For students, the ideal workflow has four connected stages:
- Capture: Record a live lecture or upload an existing audio file.
- Organize: Convert the recording into a transcript and structured notes.
- Verify: Check names, numbers, formulas, and important claims against the source.
- Practice: Turn the verified note into active-recall questions, flashcards, quizzes, or an explanation exercise.
A transcript is a record of what was said. A structured note is a study tool. They are related, but they are not the same thing.
Before you record a lecture
The quality of your notes begins before you tap the record button.
1. Ask whether recording is allowed
Recording rules differ between institutions, courses, and locations. Some lecturers allow recordings for personal study, while others restrict them because of student privacy, copyrighted material, or assessment rules. Ask first and follow the policy that applies to your class.
If recording is not allowed, you can still create a note from your own typed text, slides, photos you are permitted to use, or an uploaded PDF.
2. Prepare the device
Before class:
- Charge your phone or tablet.
- Check that you have enough storage and a stable connection if processing requires one.
- Turn on Do Not Disturb so calls do not interrupt the recording.
- Test the microphone for a few seconds.
- Give the note a useful title such as
BIO 204 - Cell Signaling - Week 3.
3. Choose a position with clear audio
Place the microphone where it can capture the lecturer without blocking anyone or creating a distraction. Avoid putting the device next to a keyboard, fan, or other source of repetitive noise.
If you are joining an online class, follow the platform and course rules before recording.
How to turn a lecture recording into study notes
Step 1: Start one recording for one clear topic
Tap record when the lecture begins. If one class covers several unrelated topics, add markers or split the material into logical sections afterward.
Clear boundaries make the note easier to review and help generated flashcards stay focused.
Step 2: Mark important moments while listening
You should not need to type every sentence. Instead, mark moments that deserve attention:
- a new definition
- an exam hint
- a worked example
- a formula or process
- a point you did not understand
- a connection to an earlier lecture
In BrainDen, section tags can identify moments such as an introduction, definition, key point, or example while the recording continues. These markers give you a faster route back to important parts of the source.
Step 3: Generate a structured note
After the recording finishes, let the lecture note taker process the audio. A useful note should be easier to scan than the raw transcript. Look for:
- descriptive headings
- short explanations under each heading
- definitions separated from examples
- ordered steps for processes
- lists for grouped facts
- a retained transcript or source link for verification
Do not judge the note only by how polished it looks. Judge it by whether it represents the lecture accurately and helps you study.
Step 4: Check the details that matter
Automatic transcription can mishear specialist vocabulary, names, numbers, formulas, and accented speech. Review those areas first.
Use this accuracy pass:
- Compare the opening summary with the lecture topic.
- Check every formula, date, dosage, statistic, and proper noun.
- Replay marked sections where the explanation seems incomplete.
- Correct errors directly in the note.
- Add a question beside anything you still need to clarify.
For high-stakes subjects, verify important information against the lecturer's slides, assigned reading, or another authoritative course source.
Step 5: Make the note your own
Learning does not end when the note appears. Edit the title, rewrite unclear sentences, highlight central passages, and attach a short comment explaining why a section matters.
Useful comments include:
Compare this with Week 2.Ask about the exception in office hours.Likely exam application question.I can define this, but I cannot explain why it happens.
This turns a generic output into a note connected to your course and your current understanding.
Step 6: Create study tools from the same lecture
Once the note is accurate, use it to create several kinds of practice:
| Study tool | Best used for | Example |
|---|---|---|
| Flashcards | Terms, relationships, short processes | "What activates the receptor?" |
| Quiz | Checking several ideas under exam-like pressure | Ten mixed questions from Week 3 |
| Mind map | Seeing hierarchy and connections | Signal, receptor, pathway, response |
| Explain It Back | Finding gaps in conceptual understanding | Teach the pathway without looking |
The source, note, and practice should remain connected. If a flashcard is confusing, you should be able to return to the relevant note and lecture section.
Step 7: Retrieve before you reread
Before rereading the finished note, close it and write or say what you remember. Then compare your answer with the note.
This is active recall. In a well-known study using educational passages, students who practiced retrieval retained more on delayed tests than students who repeatedly studied the material, even though repeated study increased confidence. You can read the study summary in PubMed.
For a complete workflow, continue with our guide to active recall with flashcards and quizzes.
A 15-minute review routine after class
You do not need to perfect every note immediately. Use a short first pass:
Minutes 1 to 4: Verify
Check the title, main topics, technical terms, and any marked moments.
Minutes 5 to 8: Edit
Fix unclear sections and add two or three personal comments.
Minutes 9 to 12: Retrieve
Hide the note and list the most important ideas from memory.
Minutes 13 to 15: Prepare the next review
Create a small flashcard set or a short quiz. Choose a few high-value questions rather than generating a huge deck you will never finish.
Common lecture recording mistakes
Keeping only the transcript
A long transcript is difficult to review. Keep it as a source, but use structured notes for navigation and study.
Trusting every generated sentence
Clear formatting can make an error look authoritative. Always verify the details that could change the meaning.
Recording without listening
Recording is a safety net, not permission to disengage. Listen for structure, examples, and signals from the lecturer about what matters.
Making hundreds of flashcards
More cards do not automatically create better learning. Start with the concepts you need to retrieve and the gaps you found during review.
Never returning to the note
A recording that stays in a library is not a study system. Schedule the first recall session soon after class and another review later.
Lecture note taker checklist
Before class:
- Confirm that recording is permitted.
- Charge the device and test the microphone.
- Create a clear course and topic title.
During class:
- Listen actively.
- Mark definitions, examples, exam hints, and confusing sections.
- Avoid unnecessary background noise.
After class:
- Generate and structure the note.
- Check important details against the source.
- Add your own highlights and comments.
- Retrieve the main ideas without looking.
- Create a focused set of flashcards or quiz questions.
Frequently asked questions
Can I record lectures on my phone?
Yes, if your lecturer and institution allow it. A phone can be practical because it is already with you, but microphone position, battery, storage, and background noise still affect quality.
Is a voice-to-notes app the same as a lecture note taker?
They overlap. A basic voice-to-notes app may only produce a transcript. A lecture-focused note taker should also organize course material and help you review it.
Should I keep the full lecture transcript?
Yes, when possible. The transcript gives you context and a way to verify the structured note. Use the shorter note for study and the transcript as the supporting source.
Can I create flashcards from a lecture recording?
Yes. Review the generated note first, then create flashcards from verified definitions, relationships, processes, and examples. This reduces the risk of practicing an incorrectly transcribed detail.
What if the lecture also uses slides or a PDF?
Keep the sources together. BrainDen can combine recordings, PDFs, photos, text, and supported video links inside a note, giving you one place to compare the spoken explanation with the visual material.
From lecture capture to exam preparation
The best lecture note taker does more than save audio. It shortens the distance between hearing an idea and practicing it.
Record the lecture, keep the source, verify the note, and then retrieve the material without looking. That final step is what changes a useful note into a learning process.
Create your first lecture note with BrainDen and choose whether to continue on web, iPhone, iPad, or Android.
See BrainDen more often in Google
Choose BrainDen as a preferred source for your Google Top Stories.
Turn your next source into a study system.
Create structured notes, flashcards, quizzes, mind maps, and active-recall practice from your own material.