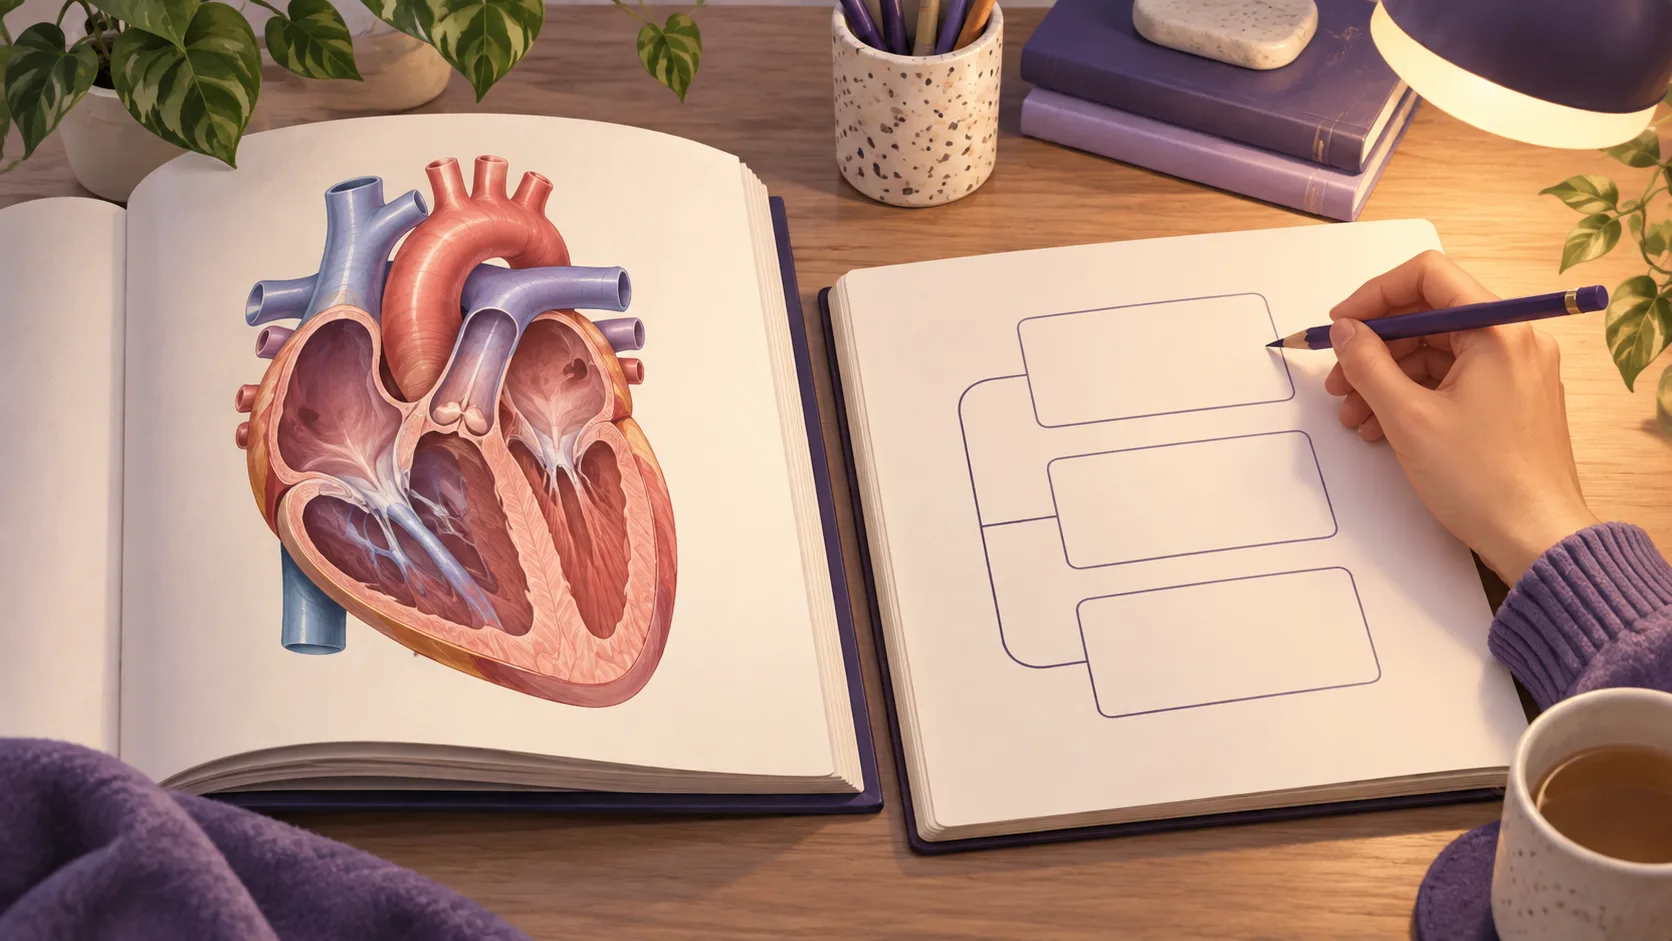
To take anatomy notes, start with the structures and relationships your course expects you to identify. Keep a trustworthy diagram beside a short note. During class, record the instructor's explanations, spatial relationships, and points you cannot resolve from the slide alone. After class, check every name and direction against the assigned atlas, lab guide, or textbook. Then cover the labels and try to explain the diagram from memory.
You do not need to redraw or transcribe every page. You need notes that help you identify a structure, locate it relative to another structure, and explain why that relationship matters in your course.
Why ordinary lecture notes often fail in anatomy
Anatomy asks you to work with visual and spatial information. A list of names can leave out the position, orientation, and neighboring structures that make each name meaningful. A beautiful copied diagram can create a different problem: you may recognize it without being able to label it yourself.
The course may also use several sources at once. A lecture introduces a region, an atlas shows it from another view, and a lab practical uses a model or specimen. If you copy each source into one long document, you can lose which label came from which view. Keep the original source available and make your note a guide back to it.
Kirtland Community College's anatomy and physiology study guide advises students to read ahead, note relationships in their own words, mark gaps during class, and correct notes soon afterward. These are useful steps whether you write by hand or use a digital note.
What should an anatomy note contain?
Build one note for a manageable region or course objective, not for an entire textbook chapter. Include five parts:
- Scope: the course, region, lecture, and learning objective.
- Source: the assigned diagram, page, slide, or lab station reference.
- Structures: names you must identify, using the exact course spelling.
- Relationships: location, neighboring structures, direction, and function when the course requires it.
- Checks: uncertain labels, questions for the instructor, and a prompt for recall.
For example, a note on the bones of the hand might use a course-approved diagram as its source. Its short text might group the wrist, palm, and digits. Beside the diagram, you could ask: “Which group sits between the wrist bones and the finger bones?” The source stays nearby so you can check your answer. If your practical uses a different view, add that view rather than assuming the first picture covers every angle.
Do not treat this example as a substitute for your course's labels. Anatomy terms, image orientations, and required detail depend on the course and assessment.
How to take anatomy notes before, during, and after class
1. Prepare a small framework before the lecture
Look at the learning objectives and the instructor's permitted slides. Write the name of the body region and three to six questions you expect the session to answer. Leave blank space for a diagram and its source reference.
For a hand lecture, the framework might ask:
- Which structures must I identify on the provided image?
- Which view or orientation does the image show?
- What borders or landmarks separate one group from another?
- What does the instructor emphasize that the atlas does not explain?
Skim the assigned material for unfamiliar terms. You do not need a complete set of notes before class. Preparation gives you a place to put the new information. Kirtland's guide recommends reading before class and using the textbook glossary for unfamiliar terms.
2. Capture explanations, not every word on a slide
During the lecture, record the points that are difficult to reconstruct later. These include an instructor's explanation of a relationship, a comparison between two views, a practical identification clue, or a correction to the provided material. Mark a gap with a question mark if you miss a term. Do not guess a structure name and let the guess become part of your final note.
Use brief phrases and your own words. Keep exact anatomical names where precision matters. You can write “visible behind this landmark in the posterior view” as an observation, but note which image and orientation support that observation.
If you record a lecture, follow your institution's rules and the instructor's permission. A recording or generated transcript can help you locate a missed explanation. It cannot verify a visual label, the side of a specimen, or a diagram's orientation by itself.
3. Pair one diagram with one concise explanation
Choose a diagram from an assigned or permitted source. Keep its title, view, page, or slide number. On a separate copy or in your note, mark only the structures relevant to the objective. Next to it, add a compact relationship sentence or a question.
Avoid redrawing an entire atlas plate just to make a neater page. Sketch when the act of drawing helps you trace a boundary or sequence. Otherwise, use the checked diagram and spend your effort explaining it. Kenhub's anatomy note-taking guide warns against copying too much, processing too little, or treating decorative notes as the goal.
If you use a digital study library, keep the source material attached or linked to the note. You can place the lecture, atlas excerpt, and lab guide in a course folder. Use nested study folders for the course structure and links between related notes when one region depends on another. Check the source permissions before you upload or share a copyrighted atlas image.
4. Correct the note against the source
Soon after class, review the note while the context is still clear. Check spelling, side, view, orientation, labels, and any stated relationship. Compare each uncertain point with the assigned source. If the source and lecture appear to disagree, record both references and ask your instructor which convention the course uses.
Keep a short “verify” section rather than hiding uncertainty. A useful entry says, “Check whether this image is an anterior or posterior view; slide 12 and atlas page 84 appear different.” That gives you a specific question to resolve. A vague question mark beside a large image does not.
Stanford's note-organization guidance recommends a consistent approach within a course and a place where you can find notes for review. Use one title pattern, such as ANAT 201 | Upper limb | Hand bones | Lecture 4, and keep the source reference in the same place each time.
5. Turn the note into a test
Cover the labels on the checked diagram. Identify the structures before you look at the answer. Change the view if your course uses several views. Then explain one relationship in a full sentence without reading the note.
For a hand-bone topic, you might test identification on the atlas image, then on a lab model. You might also ask how two groups relate spatially. If you can answer only when the original labels are visible, mark that part for another attempt.
Keep identification and explanation as separate tasks. A blank diagram tests where a structure is. A short question tests whether you understand a relationship or function. For more card formats, see our guide to biology flashcards that test understanding.
A reusable anatomy note template
Use the following structure for one objective. You can copy it into a paper notebook or a digital note:
| Field | What to record |
|---|---|
| Topic | Course, region, lecture, and objective |
| Checked source | Atlas page or lecture slide, including view and orientation |
| Identify | A small set of structures required by the objective |
| Relate | Position, neighbor, direction, or function, as required |
| Instructor detail | Explanation or practical clue missing from the source |
| Verify | Uncertain spelling, label, side, or conflicting view |
| Recall | One blank-diagram task and one explanation question |
For example, a note about a joint could point to two permitted diagrams from different views. Your “identify” field lists only the structures in the objective. Your “relate” field states what you must compare in those views. The “verify” field holds a question about a label you could not confirm. The recall task asks you to locate the same structure on a new image.
Keep the table short enough to use during a real week of classes. Add a field only if it solves a repeated problem. If your course tests microscopic slides, a source image and identification features may matter more than a region sketch. If it tests a model, practice with a model rather than relying only on a flat illustration.
How should you organize anatomy notes across a course?
Give each note one stable home: semester, course, then region or module. Keep lecture notes and lab notes distinguishable in their titles. Link them when they cover the same structure from different views. A course objective note can point to the lecture explanation, assigned reading, and practical image without replacing those sources.
For instance, your upper-limb folder might contain a shoulder note, an arm note, and a hand note. A link can show that one earlier note explains a landmark used in the next. The link should say why the two notes belong together. Do not build a dense web of links just because the anatomy is connected in real life.
Before a practical, select the relevant notes and read them together. Check the original diagrams while you review. If you need a portable set, export selected notes as one document rather than creating a new, unverified combined note. This keeps corrections traceable to their sources.
Common mistakes to check before you revise
- Only copying slide text: add the lecture explanation and the diagram reference.
- Using one view for every question: check the view and orientation the assessment uses.
- Unlabelled source images: record the page, slide, creator, or lab reference.
- Polishing instead of testing: spend some study time on blank diagrams and explanations.
- Trusting generated labels: compare every label with a course-approved source.
- Sharing a full atlas page by default: check permission and share only the material you may distribute.
The best anatomy notes let you move between the checked source and your own explanation. Start with one region, write only what helps you identify and relate its structures, resolve uncertain details, and test yourself from a new view.
If your anatomy course provides permitted PDF slides, BrainDen can help you turn that source into a structured note. Try the PDF-to-study-notes workflow, then verify each anatomical label and diagram against your course material before you study it.
Turn your next source into a study system.
Create structured notes, flashcards, quizzes, mind maps, and active-recall practice from your own material.